My daughter turned three on Friday and she requested a “Tiana” birthday party. I figured now would be a good time to make her a dress up outfit to go along with the the occasion!
Here’s a picture of E with Tiana during our trip to Disneyland last November. She knelt down on her knees, copying Tiana. It was so cute!

A few tears were shed when E tried on the “Tiana” dress up apron, because it wasn’t poofy, but I think she still likes it since she’s been wearing it all morning!
Want to make one for a special little girl in your life? Here’s how! There are a lot of steps, but I tried to be as thorough as possible so that each step is explained clearly.
THIS PATTERN IS FOR PERSONAL USE ONLY AND NOT FOR SALE. YOU MAY NOT MAKE ITEMS FOR SALE OR PROFIT. IF YOU WOULD LIKE TO SHARE THIS PATTERN, PLEASE GIVE ME CREDIT BY LINKING TO MY PAGE.
Materials:
– light yellow fabric
– green fabric
– ivory tulle (I used tulle on a roll that was 6 in wide since that’s what I had on hand, but I’d recommend the tulle you can buy off the bolt)
– yellow thread
– green thread
– elastic (1 – 1 1/2 inches wide)
– fabric glue
– hook and loop closure
– small piece of felt
– beads or pearls
And here’s how to put it all together! 🙂
Instructions:
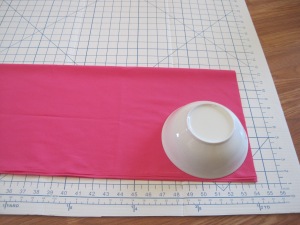
1. The first step is to cut out all the pieces.
Out of the yellow fabric:
Strap: 4 x 22 inches
Bodice: 8 1/2 x 8 inches (cut 2)
Skirt: 19 x 40 inches (cut 2)
Petals: instructions below – you’ll end up making 9 total
Out of the green fabric:
Waist Band: 3 x 28 inches (cut 2)
Leaves for bodice: instructions below
Leaves for skirt: instructions below
2. Fold the neck strap in half, right sides together, and sew along the long side using a 1/2 in seam allowance. Turn inside out and press. For other aprons I’ve made, I’ve topped stitched along both long sides about 1/4 in from the edge, but I totally forgot this time. I think that it gives a nice airy kind of feel for Tiana’s outfit so I wasn’t too worried.


3. Cut a 14 inch piece of 1 inch width elastic. Insert it into the strap.

4. Line up the ends of the elastic with the ends of the strap and pin or baste in place. The elastic is shorter than the fabric which will allow it to stretch over your little one’s head.

5. Pin the strap to the right side of the bodice front about 1/2 in from the side edges. After I put it all together I realized that the seam from the strap was on the side closest to her neck which shows a bit more, so if you want to avoid that, make sure the seam is on the “outside” when pinning it in place. Baste in place.

6. Place the back of the bodice on top, sandwiching the strap in the middle. Pin in place then sew around the sides and top using a 1/2 in seam allowance.

7. Turn inside out and press.

8. To make the petals: on a piece of paper, draw a circle with a diameter of about 7 inches, cut out, and then cut in half. Using the pattern you just created, cut the yellow fabric.
Fold in half and sew along the straight edge using about 1/4 inch seam allowance.

Turn inside out and, positioning the seam so it runs down the back, sew gathering stitches along the round edge. (I have the seam positioned on the side in the phot, but the petals turn out better if the seam is at the back.)

Gather the rounded edge and your petal should look like a petal.

9. To make the bodice leaves: on a piece of paper, draw something that looks like the picture. Once you are satisfied with your pattern, cut four pieces out of the green fabric. Pin and sew two pieces together, using a 1/2 in seam allowance, sewing along the curved edges. Leave the straight edge open so that you can turn it inside out. Turn inside out and press. Repeat with the remaining two green pieces.


10. Position the bodice leaves on the bodice, pinning just at the top for now. They should slightly overlap. Position three petals behind the green pieces, as shown in the picture, so that when the green is in place no raw edges are seen.

11. Pin the three petals onto the bodice and sew in place. Remove any pins.
12. Pin the green pieces down, adjusting them if necessary so that the raw edges of the petals are hidden. Top stitch about 1/4 in from the edge around the leaves. Start with the leaf on the bottom. I stopped and started again near the straps just so that I could move things out of the way easily and not sew the leaves to the straps.

13. The stop stitching didn’t attach the leaves to the side of the bodice, so using some fabric glue, I glued down the sides. I put paper inside the leaves first so that the glue wouldn’t seep through to the front.

14. Once the leaves are attached and the glue is dried, trim the bottom of the leaves so they are flush with the bottom of the bodice.
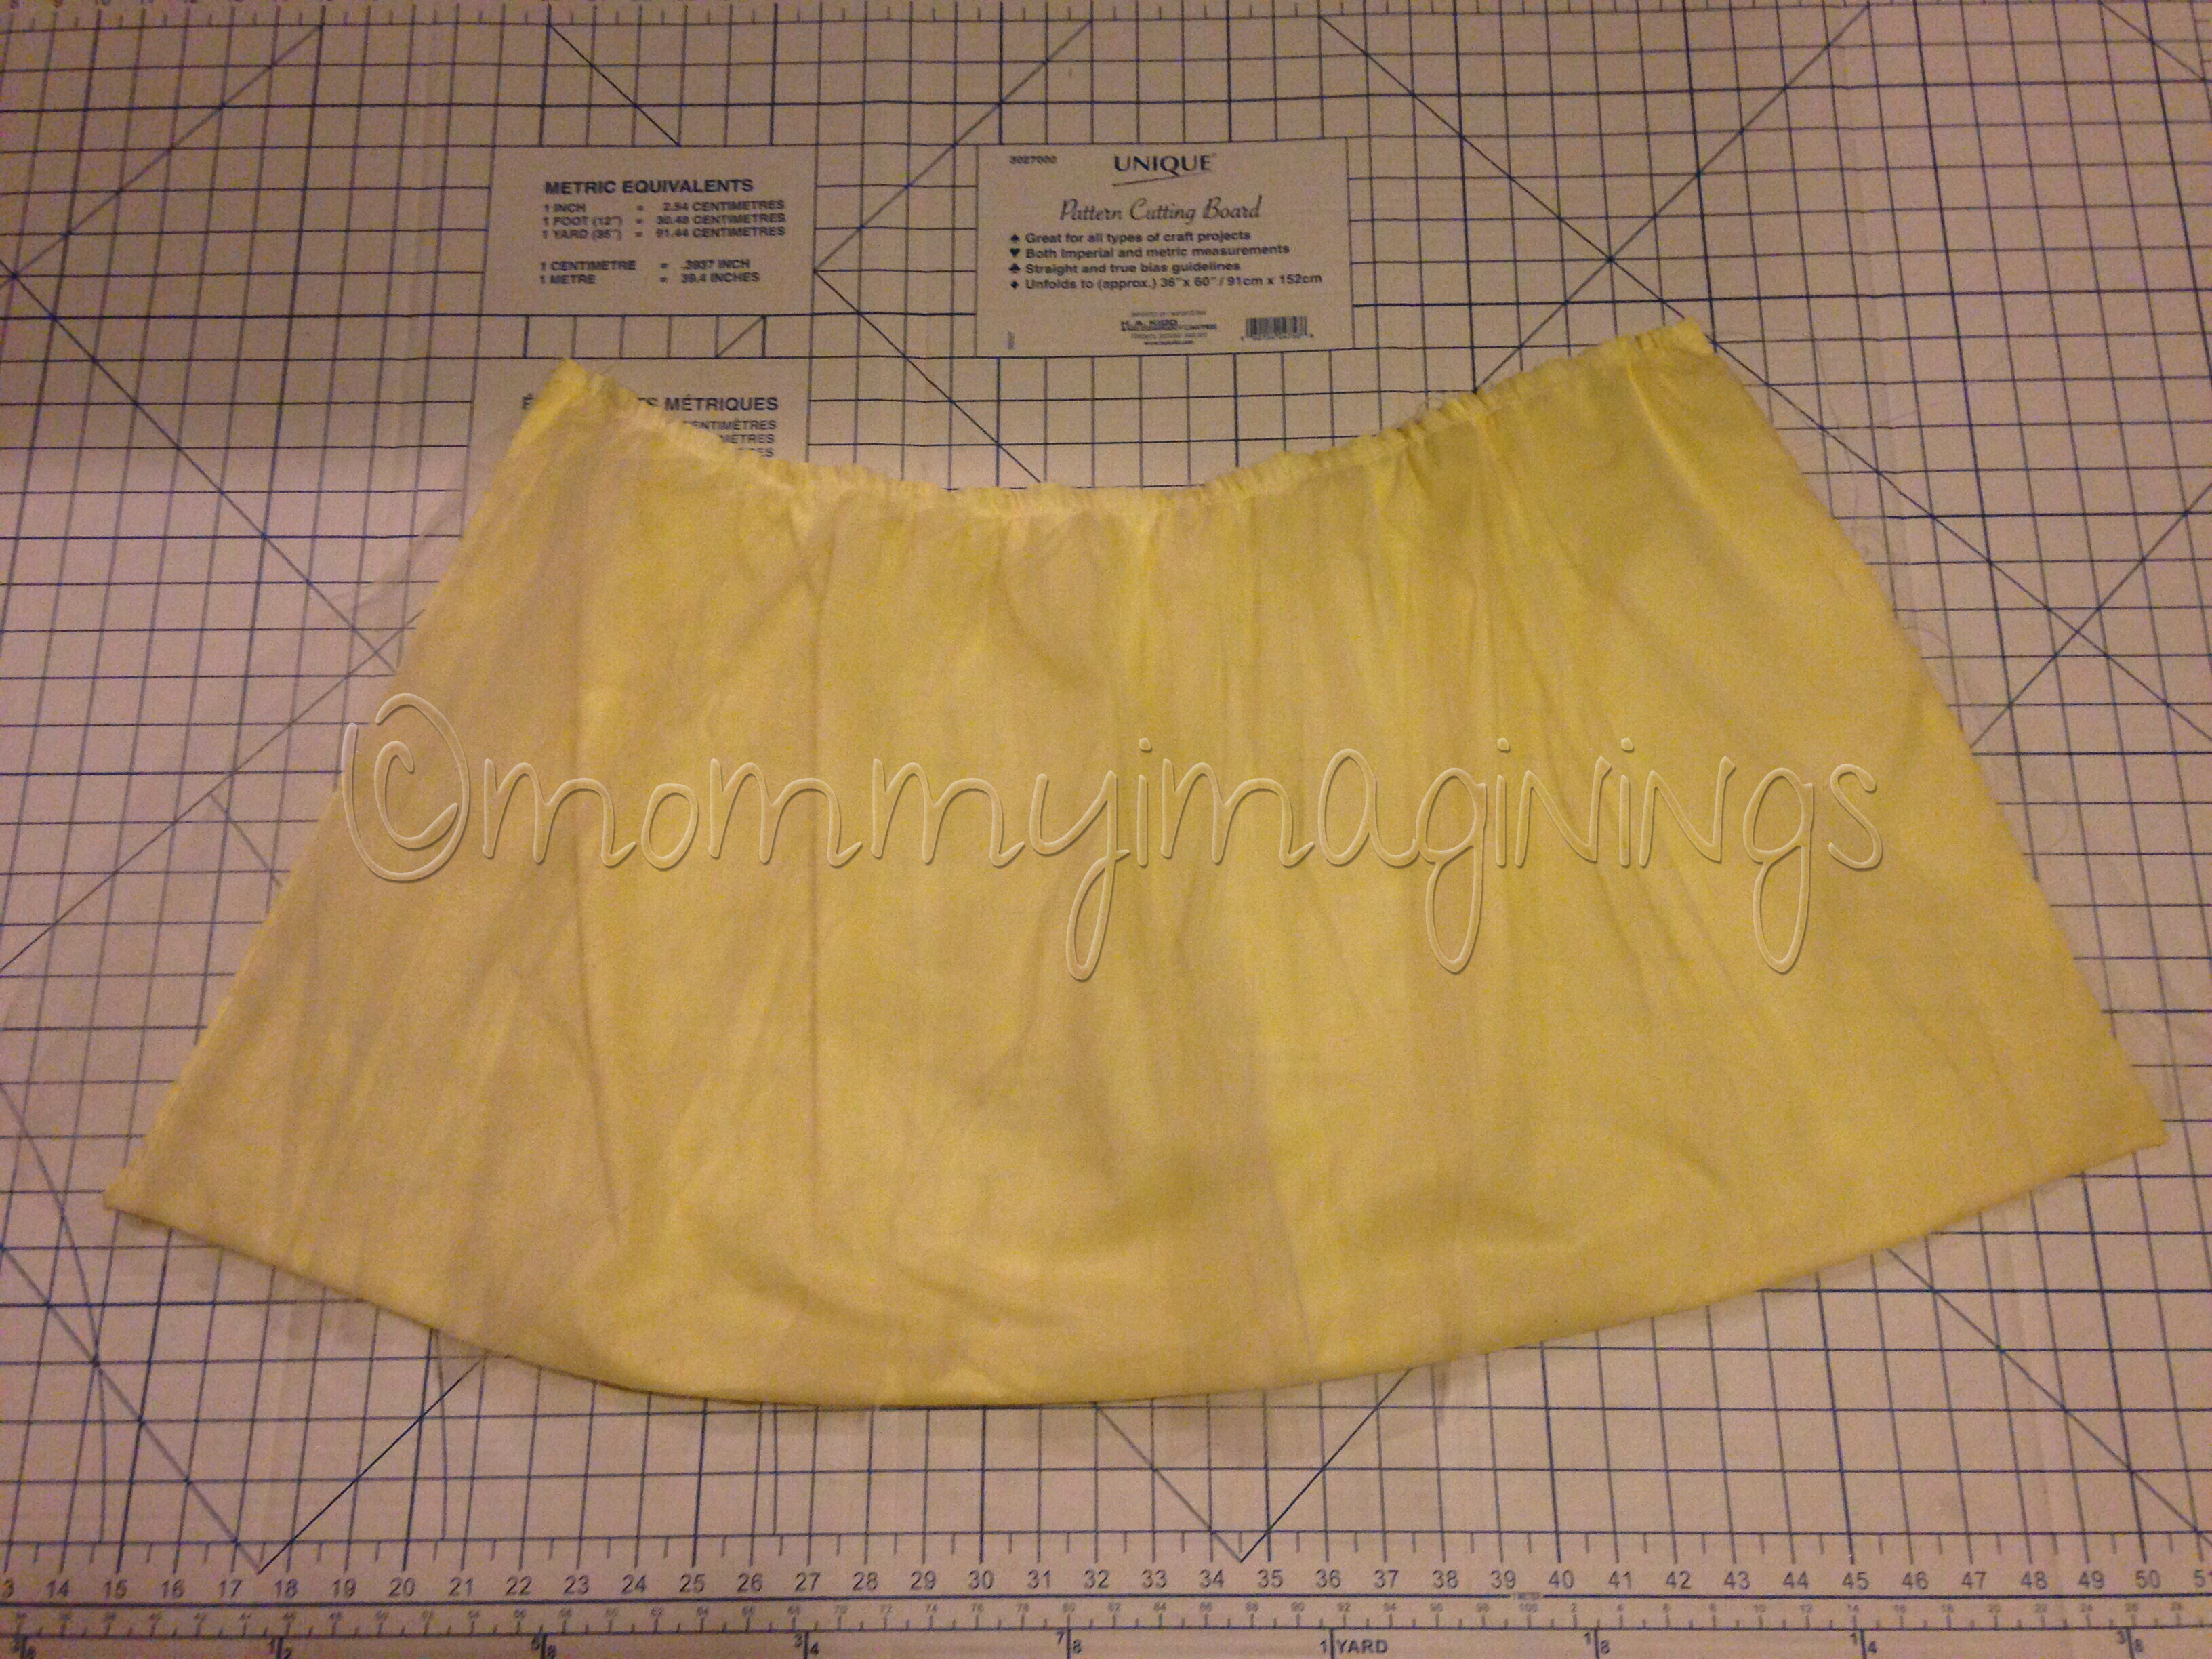
15. Now for the skirt! Pin the two skirt pieces together and sew, using a 1/2 in seam allowance, along the sides and bottom. Trim the corners then turn inside out. Press.

16. I used strips of tulle on this apron, but I recommend using tulle off the bolt. I cut strips a bit longer than the length of the skirt, pinned the on the top, overlapping each strip. Once everything is pinned in place, I trimmed the bottom edges so they were the same length as the skirt.

17. Sewing gathering stitches along the top of the skirt and gather to a width of 27 inches.
18. Time to make the leaves for the skirts. First you’ll need to create your patterns. They should look something like these: (When looking at the skirt, D will be on the left side and A, B, and C will be on the right with C as the bottom layer and A as the top).


19. Once you are satisfied with your patterns, cut one of each shape out of the green fabric. Hem the rounded edges by folding under 1/4 of an inch and ironing, then fold under again. Sew the hem.

20. Sew gathering stitches along the top straight edges of each leaf piece and gather.

21. Position the pieces on top of the skirt and pin in place. Sew along the top edge.

22. Take one waistband piece and fold under all four edges 1/2 inch and press. Repeat with the second waistband piece.

23. Unfold the long edge of one waistband piece and pin along the gathered edge of the skirt front. Sew in place.

24. Unfold the other edge of the same waistband piece and pin the bodice in the center. Sew in place. (If you trimmed the bottom of the bodice earlier it won’t stick out like that. I just trimmed it at this stage.)

25. Turn the apron over so the front of the apron is facing away from you and pin the second waistband piece (edges folded under) so that it is lined up with the first piece, covering all the raw edges. Top stitch along all four sides.

26. Cut a 7 inch length of the hook and loop closure. Pin then sew onto the waistband as shown in the picture.

27. Almost done! Create 6 more yellow petals as described in step 8. Cut a small circle (about 1 1/2 in diameter) out of felt. Pin and sew on each petal.


28. Sew onto the apron waistband as shown in the picture.

29. Cut a small circle out of green fabric and hand gather the raw edges. Hand sew onto the centre of the flower. Add a few beads or pearls to finish things off!

30. Watch your toddler enjoy her new “dress”!
I’d love to hear what you think of this tutorial and how your project turns out!
And in case you were wondering…here’s what I did for a cake!