Thank you SO much for your patience while waiting for the rest of the patterns and tutorials for the quiet book. Today I’ll be sharing how to complete the Frozen pages.
Please note that the Elsa figure was created based on someone else’s pattern so I won’t be able to share that part, but the rest will be explained in this tutorial.
Don’t forget to check out my completed Disney Princess Inspired Quiet Book!
NOTE: When I created the quiet book, I completed all the pages and then sewed them together. That means that each of the pages has about 1/2 inch on three sides that will “disappear” when sewn to the next page. The fourth side will be used for binding the book together. You can see the finished book here. The instructions for the binding will be in a future post.
THESE PATTERNS ARE FOR PERSONAL USE ONLY AND NOT FOR SALE. YOU MAY NOT MAKE ITEMS FOR SALE OR PROFIT. IF YOU WOULD LIKE TO SHARE THESE QUIET BOOK PAGES, PLEASE GIVE ME CREDIT BY LINKING TO MY PAGE.
Materials:
– felt (light blue, white, sparkly white, green, gold, dark brown)
– ribbon
– fabric paint (brown, silver)
– glue
– Snowflakes Page Pattern and Build a Snowman Page Pattern
Instructions:
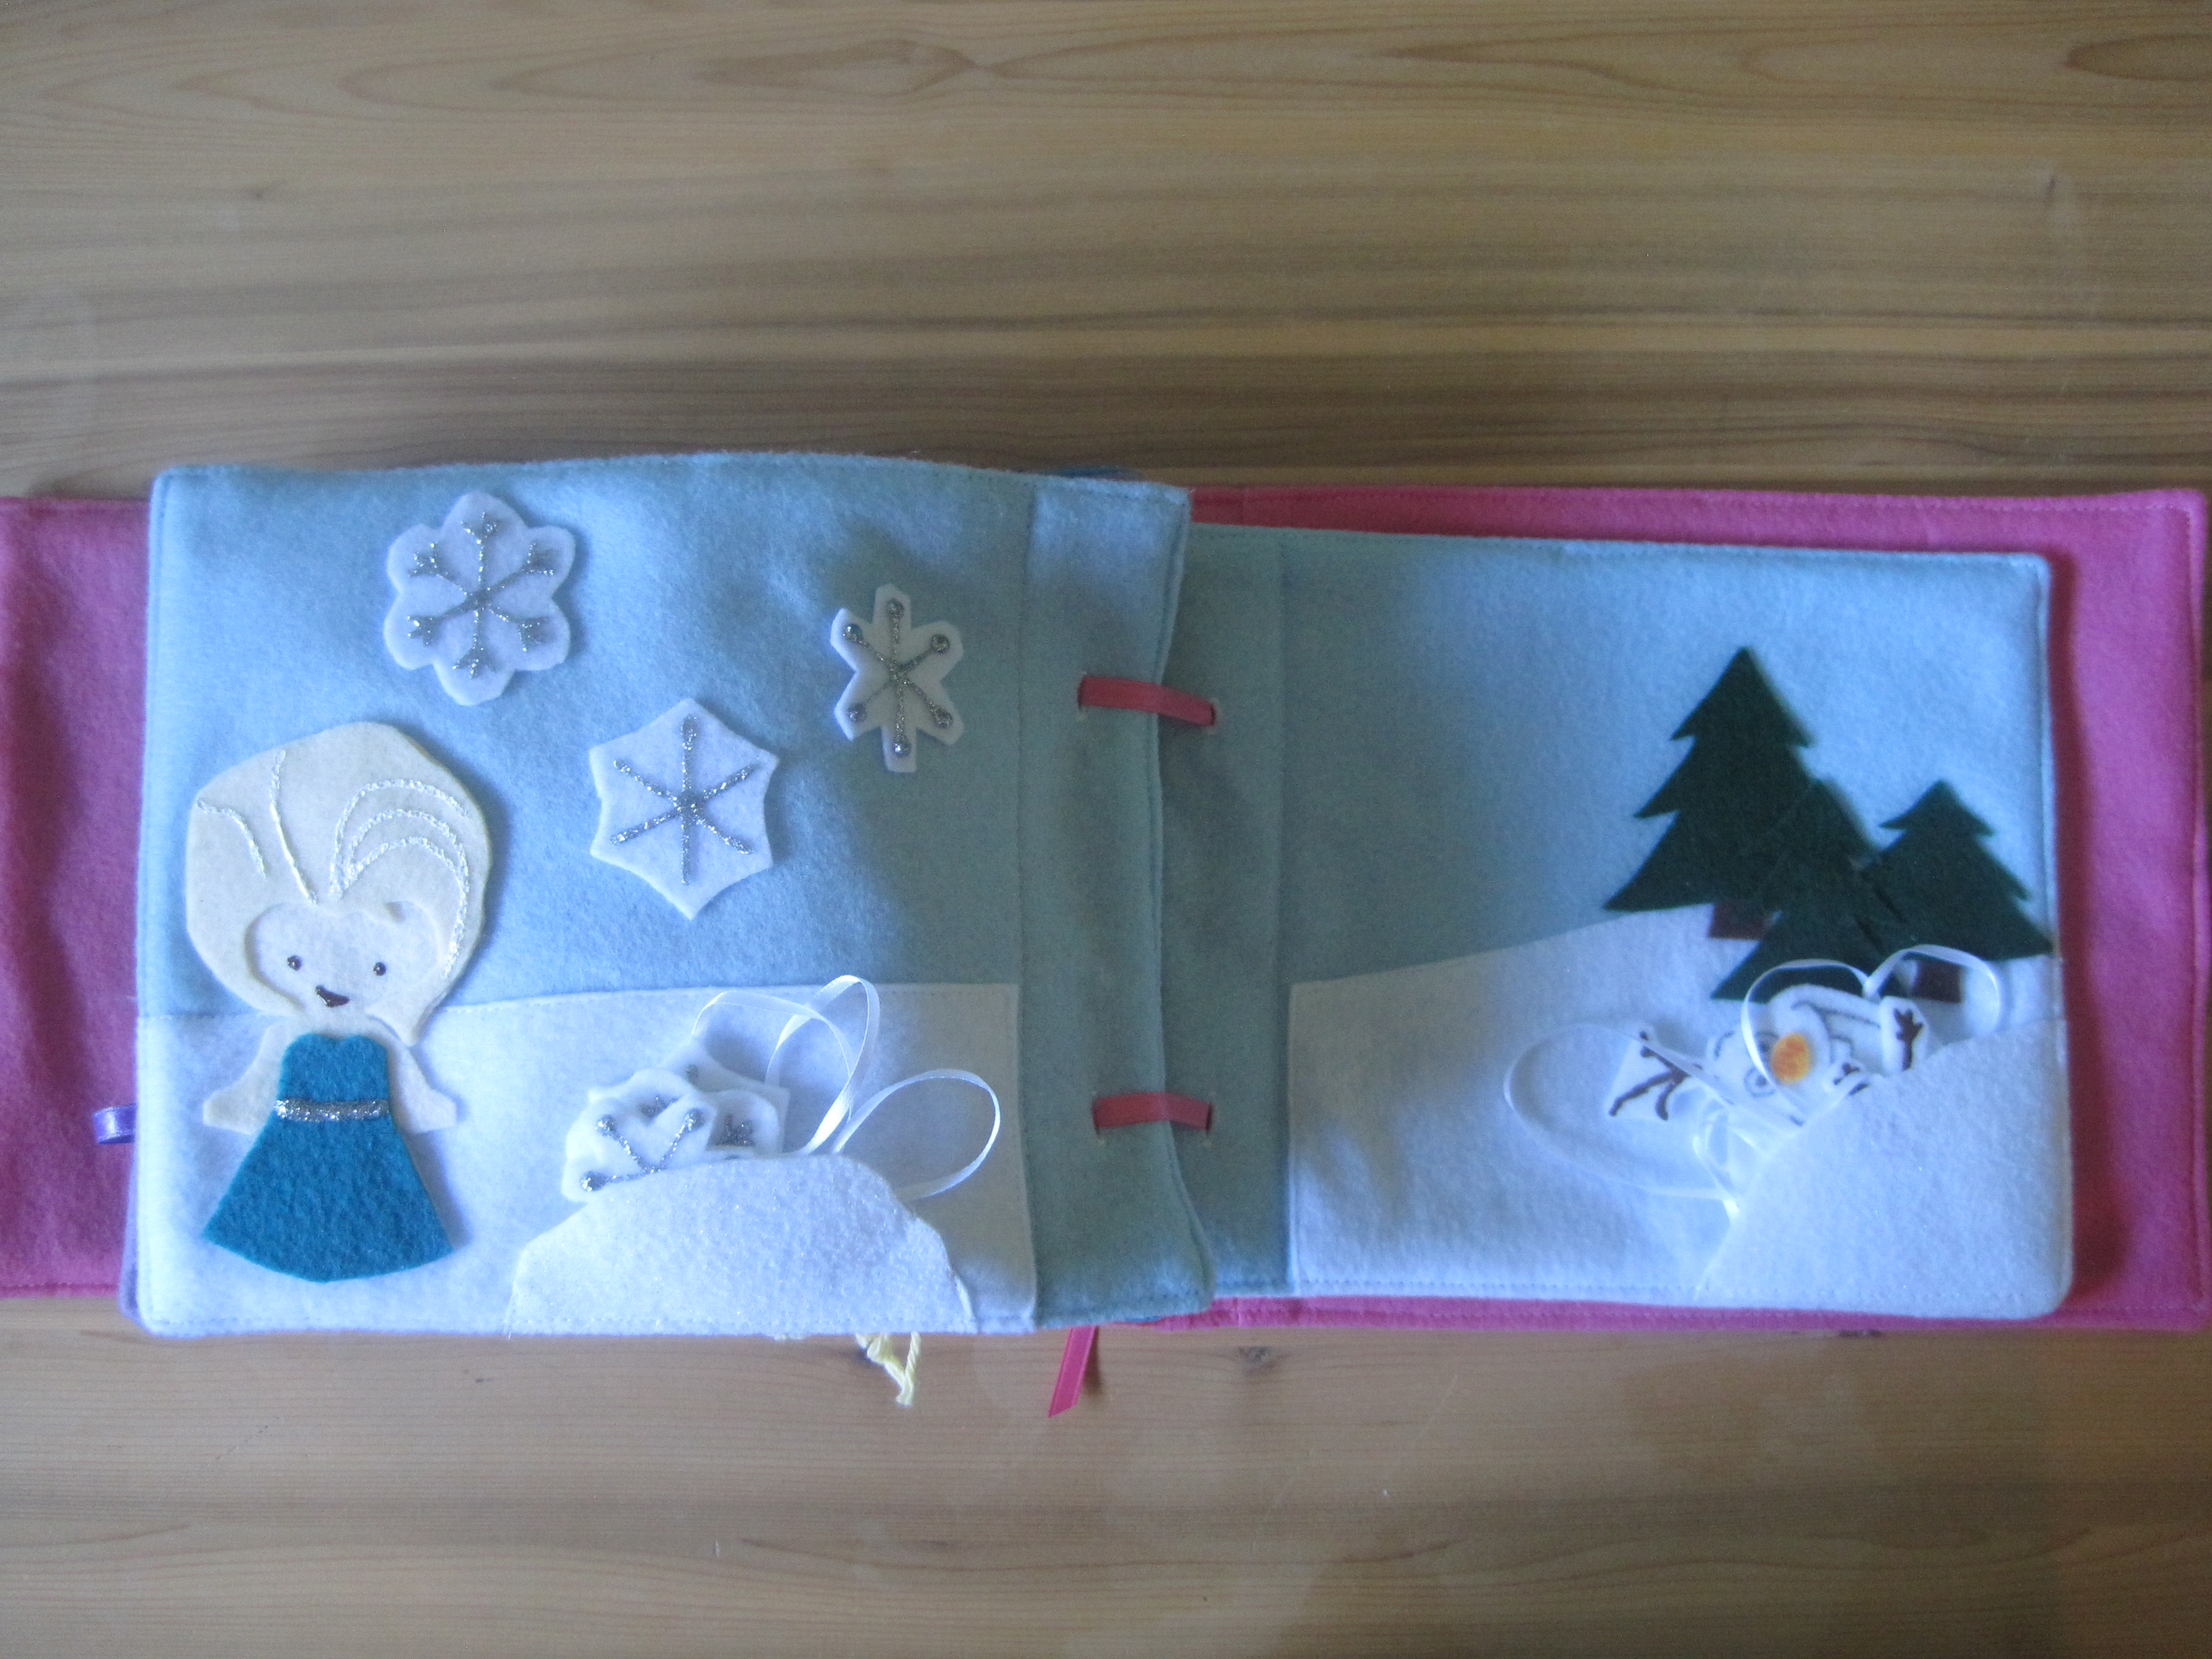
1. I’ll first show the Snowflakes page. Trim the background light blue felt so it is 10 inches by 8 1/2 inches (this will be the standard size for all the pages in this quiet book).
 2. Cut out three of each snowflake from white felt. Using the sliver fabric paint, draw the snowflake details on two of the snowflakes. Let dry completely.
3. Cut three pieces of ribbon and glue in between a blank snowflake and a painted snowflake. Let dry completely.
 4. Place the Ground Snow piece in place and pin the other end of the ribbons as shown in the picture. Sew around the edges.
 5. Place the Pocket piece in place over top of the ribbon and sew the bottom and up about a centimeter on both sides. This will be where the snowflakes can be stored when not in use.
 6. Glue the second snowflakes in the sky and let dry completely.
7. Add an Elsa doll of your own creation to complete the page.
 8. To create Olaf I used a pattern found on this page. I altered the size when I printed it so that it would fit properly on the felt page. I don’t have a picture because it was lost, but each shape is cut out twice and a ribbon glued in between. The ribbon does get in the way a bit, but it helps to keep all the pieces with the page.
9. Cut out Olaf’s nose from gold felt and using an orange marker, draw a few lines to add some detail. Use a permanent black marker to draw his face on the felt. Use the brown fabric paint to draw the stick hair, his arms, and buttons. Let dry completely.
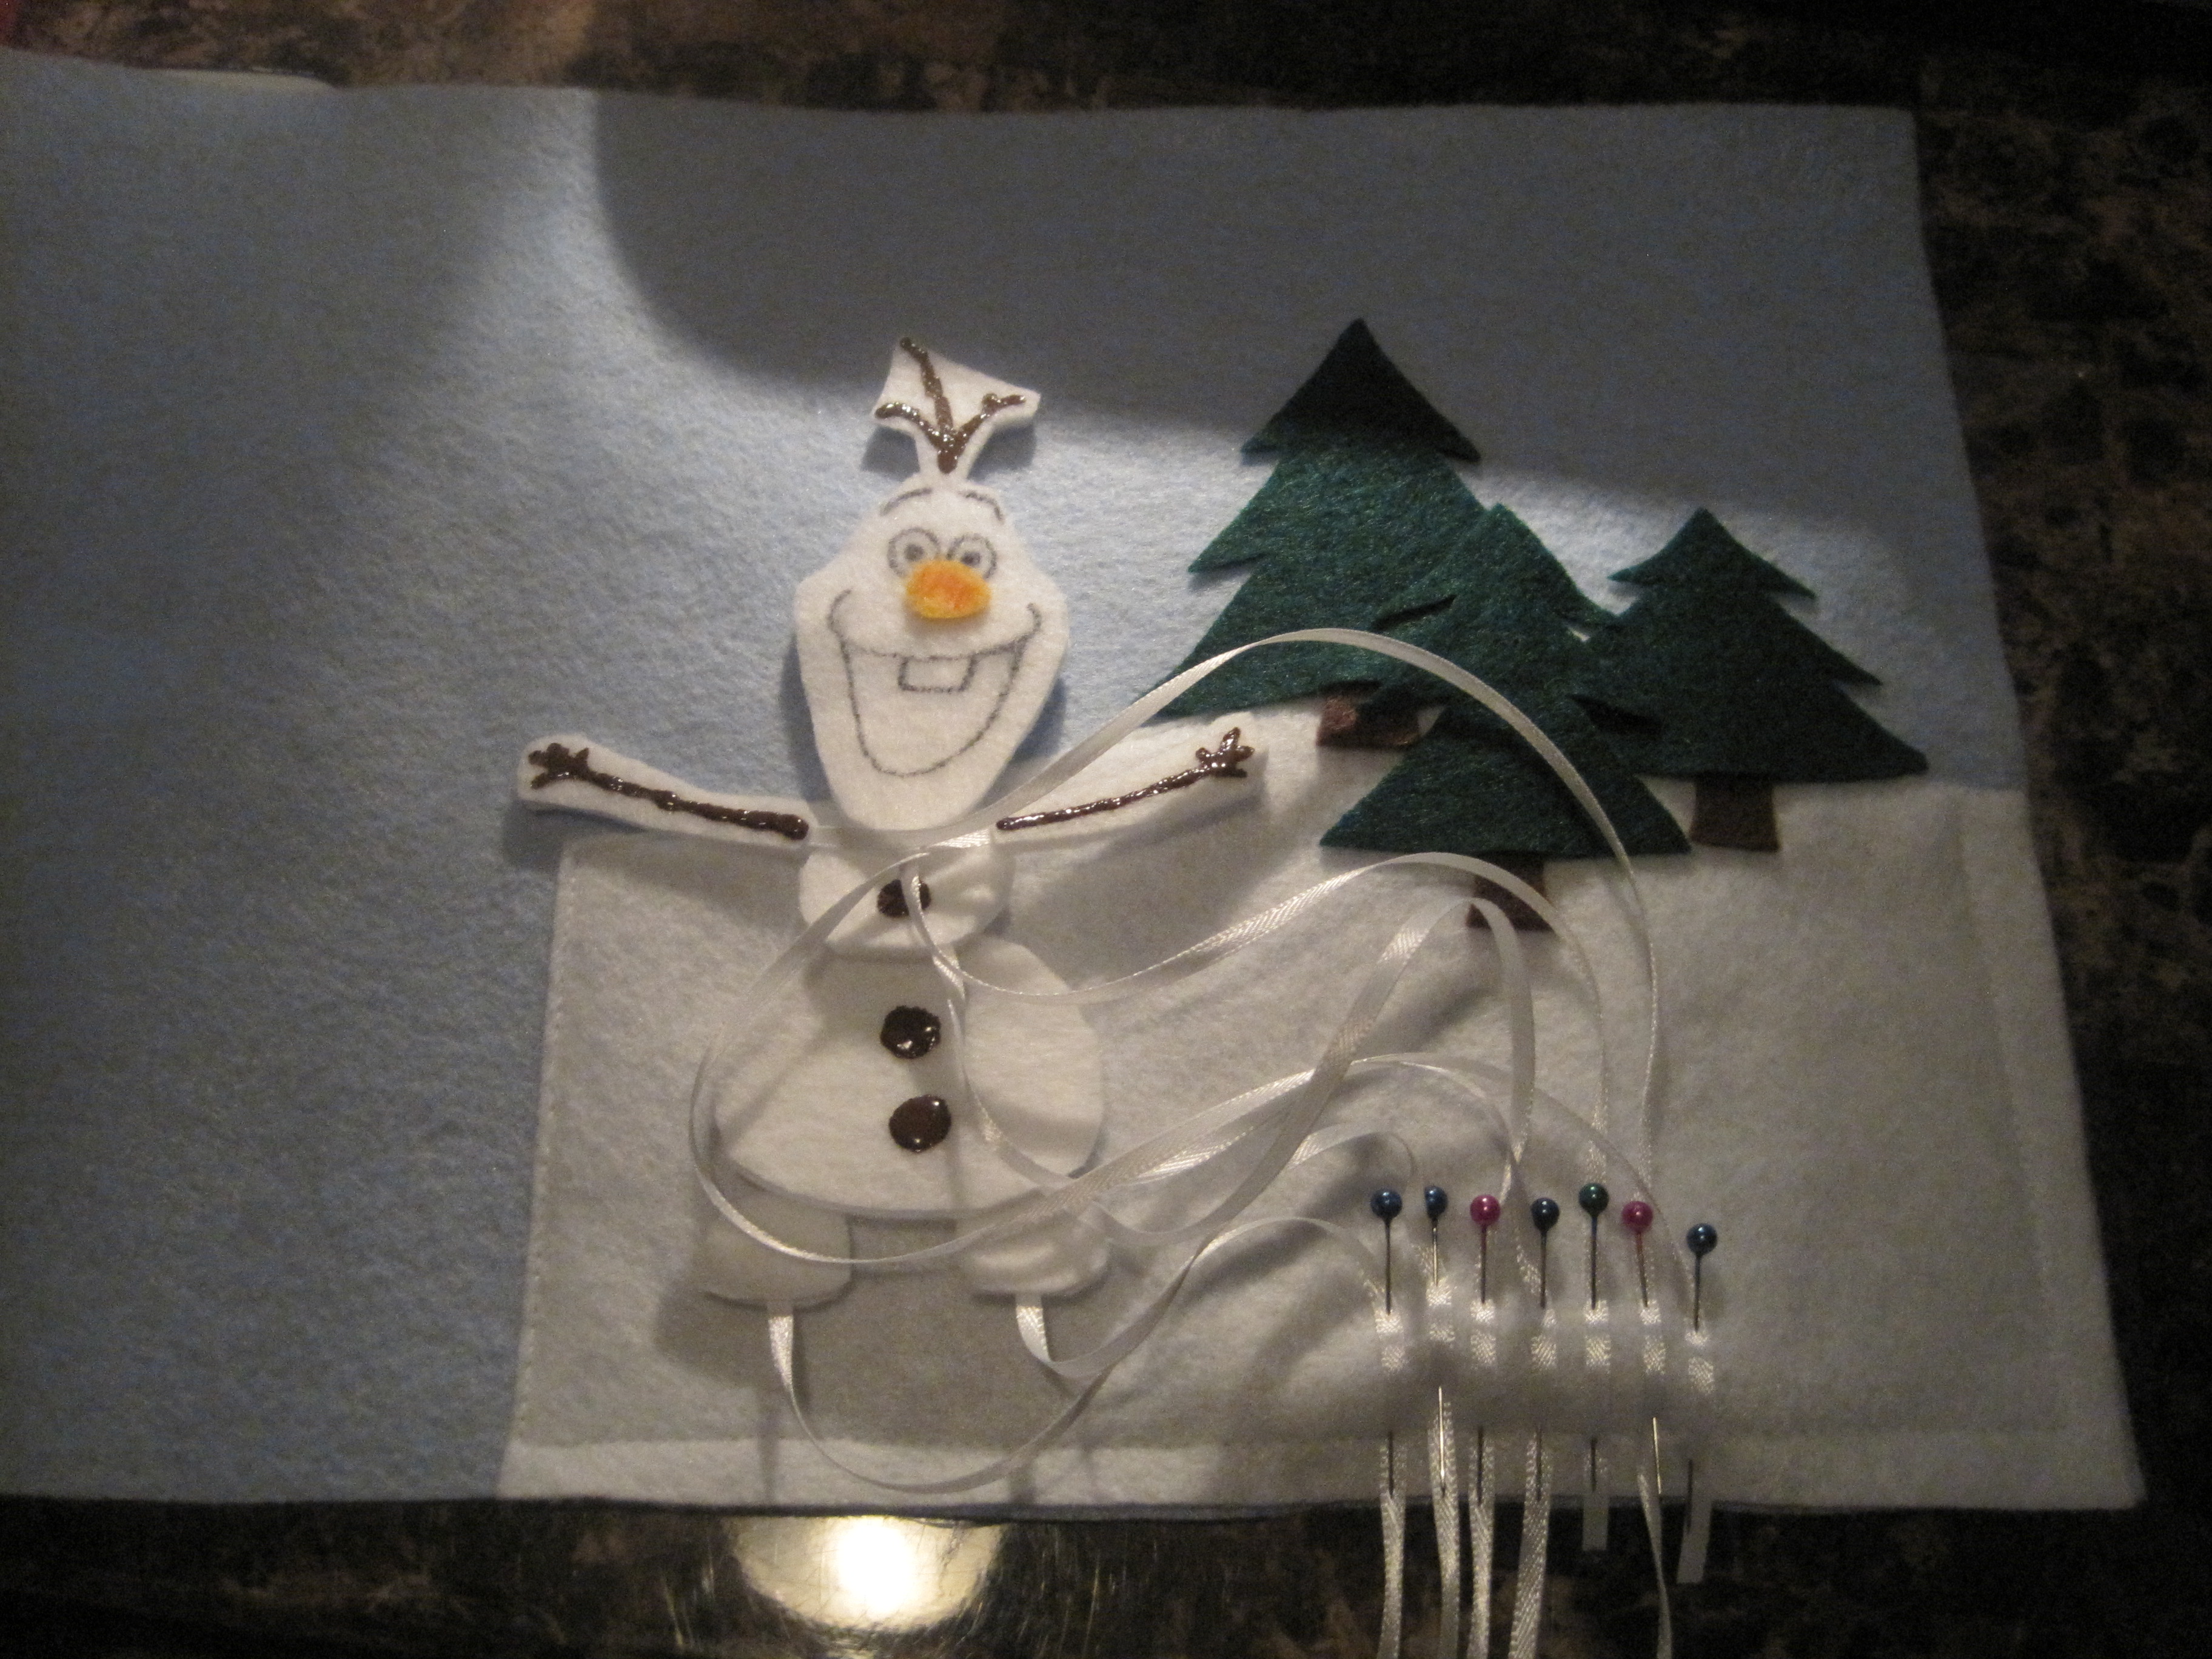 10. Sew the Ground Snow in place and glue the trees and trunks onto the page as shown. Pin the opposite ends of the ribbon as shown and sew in place. Trim the ribbons if needed.
 11. Sew the pocket piece in place, covering the ribbon ends. And the page is done!

Pingback: Disney Princess Inspired Quiet Book | Mommy Imaginings